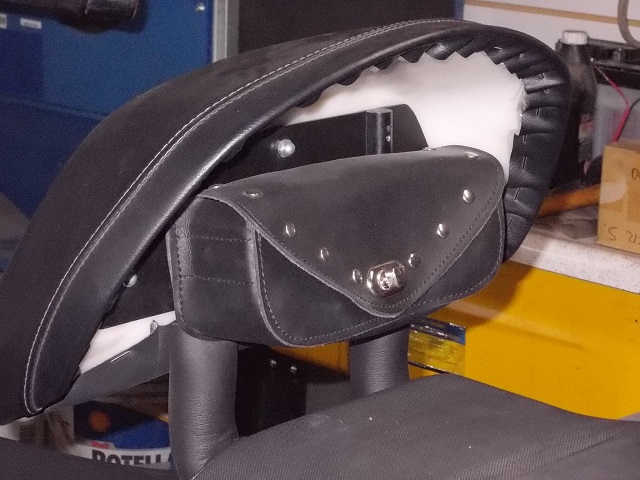
2013 and newer Suzuki Burgman 650 backrest - parts
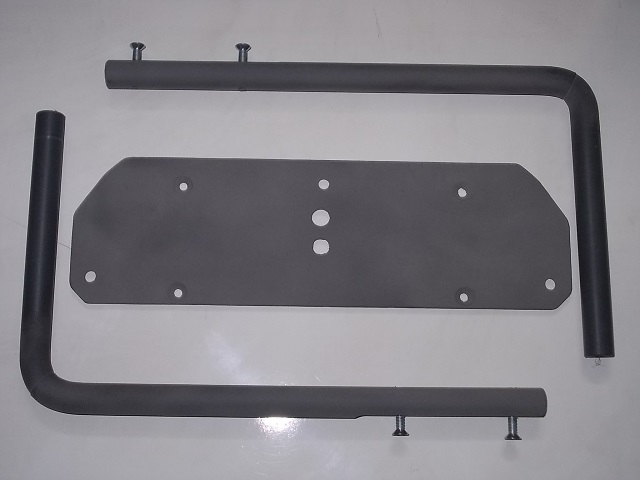
In the package you are going to receive 2 x rails, 4 x screws and 1 x backplate.
The rails and the backplate can be sandblasted, paper sanded or cleaned with acetone to remove sheen, as a preparation for a fine coat of spray paint of your choice. Oil based paint is recommended as it is harder when dries.
Look through all the pictures to get a visual idea what a finished product should look like
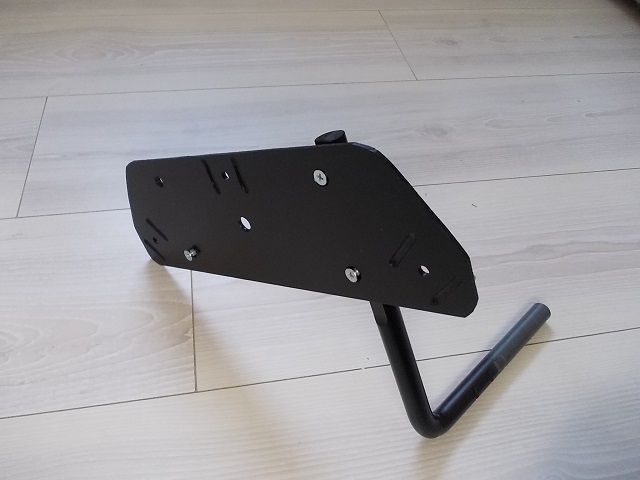
Take out the screws and using a Philips screwdriver #2 attach the rails to the backplate. The 2 holes in the rail will perfectly match up the countersunk holes in the back plate. 2 x screws per rail. Make sure the screws go in all the way in, do NOT over tighten them. Use common sense.
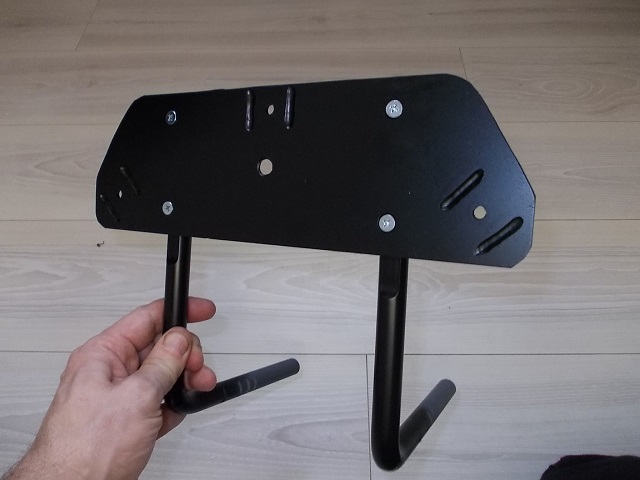
The finished (assembled) product should look like on the picture above
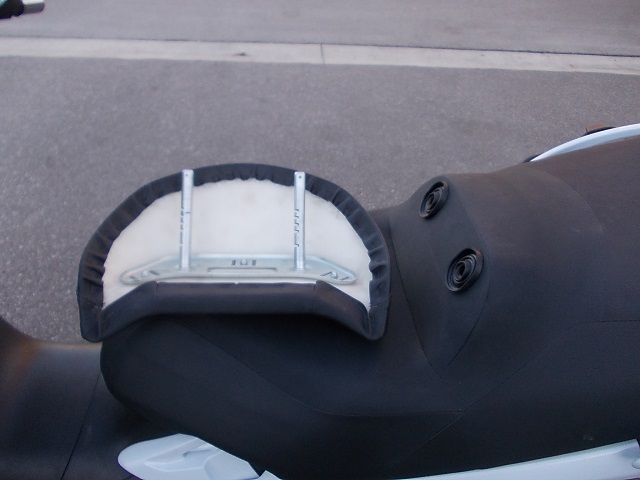
Once the after market backrest has been assembled, pull out the original "backrest" from your seat (you should already know how to do this) and with a 10mm socket or wrench remove the 3 crown nuts holding the original "backrest" to the mounting steel plate.
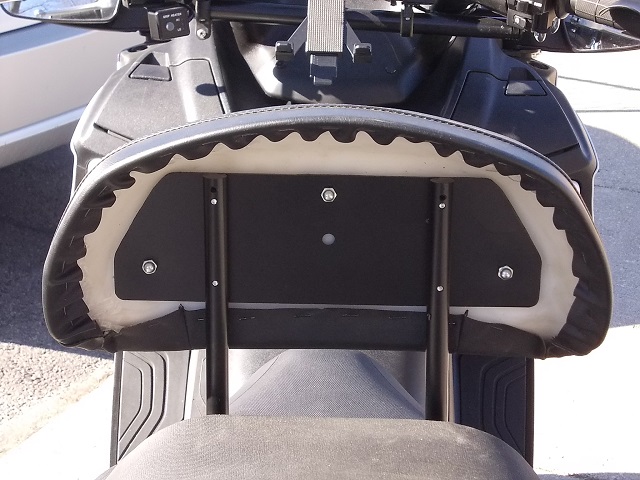 Remount the original "backrest" to the aftermarket backplate using the same 3 x crown nuts. For added safety put "blue" loctite on the threads or a small amount of nail polish. Tighten the nuts, and voila!
 Again, no need to overtighten them, just make sure they are snug.
HAPPY RIDING !!!
Options:
Get copper pipe insulation foam tube from Home Depot and cover the bracket rods
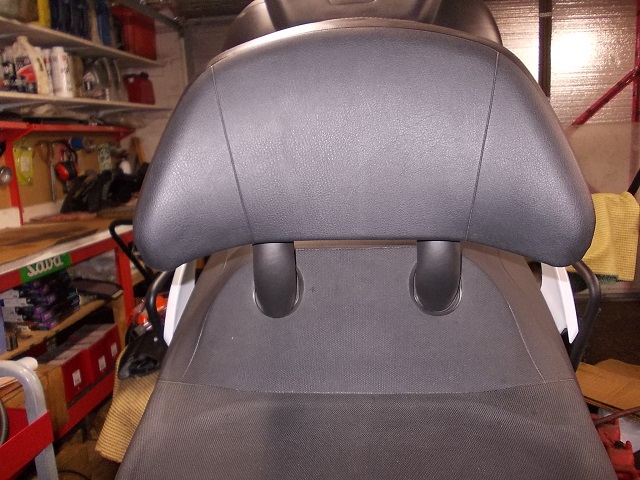
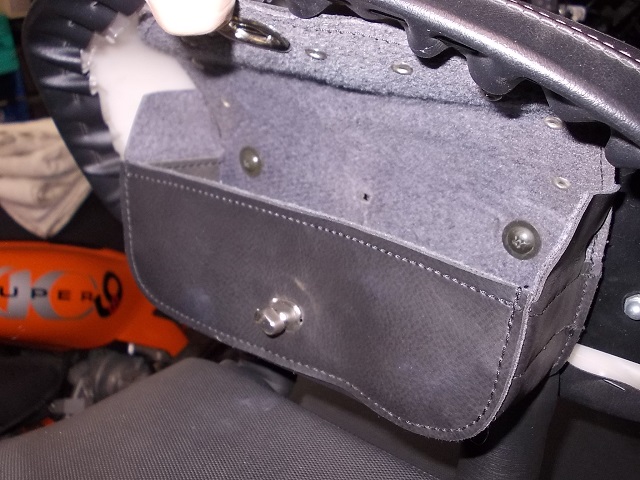
Install a small passenger pouch for a cell phone, make up stuff or whatever. My wife loves this pouch!
